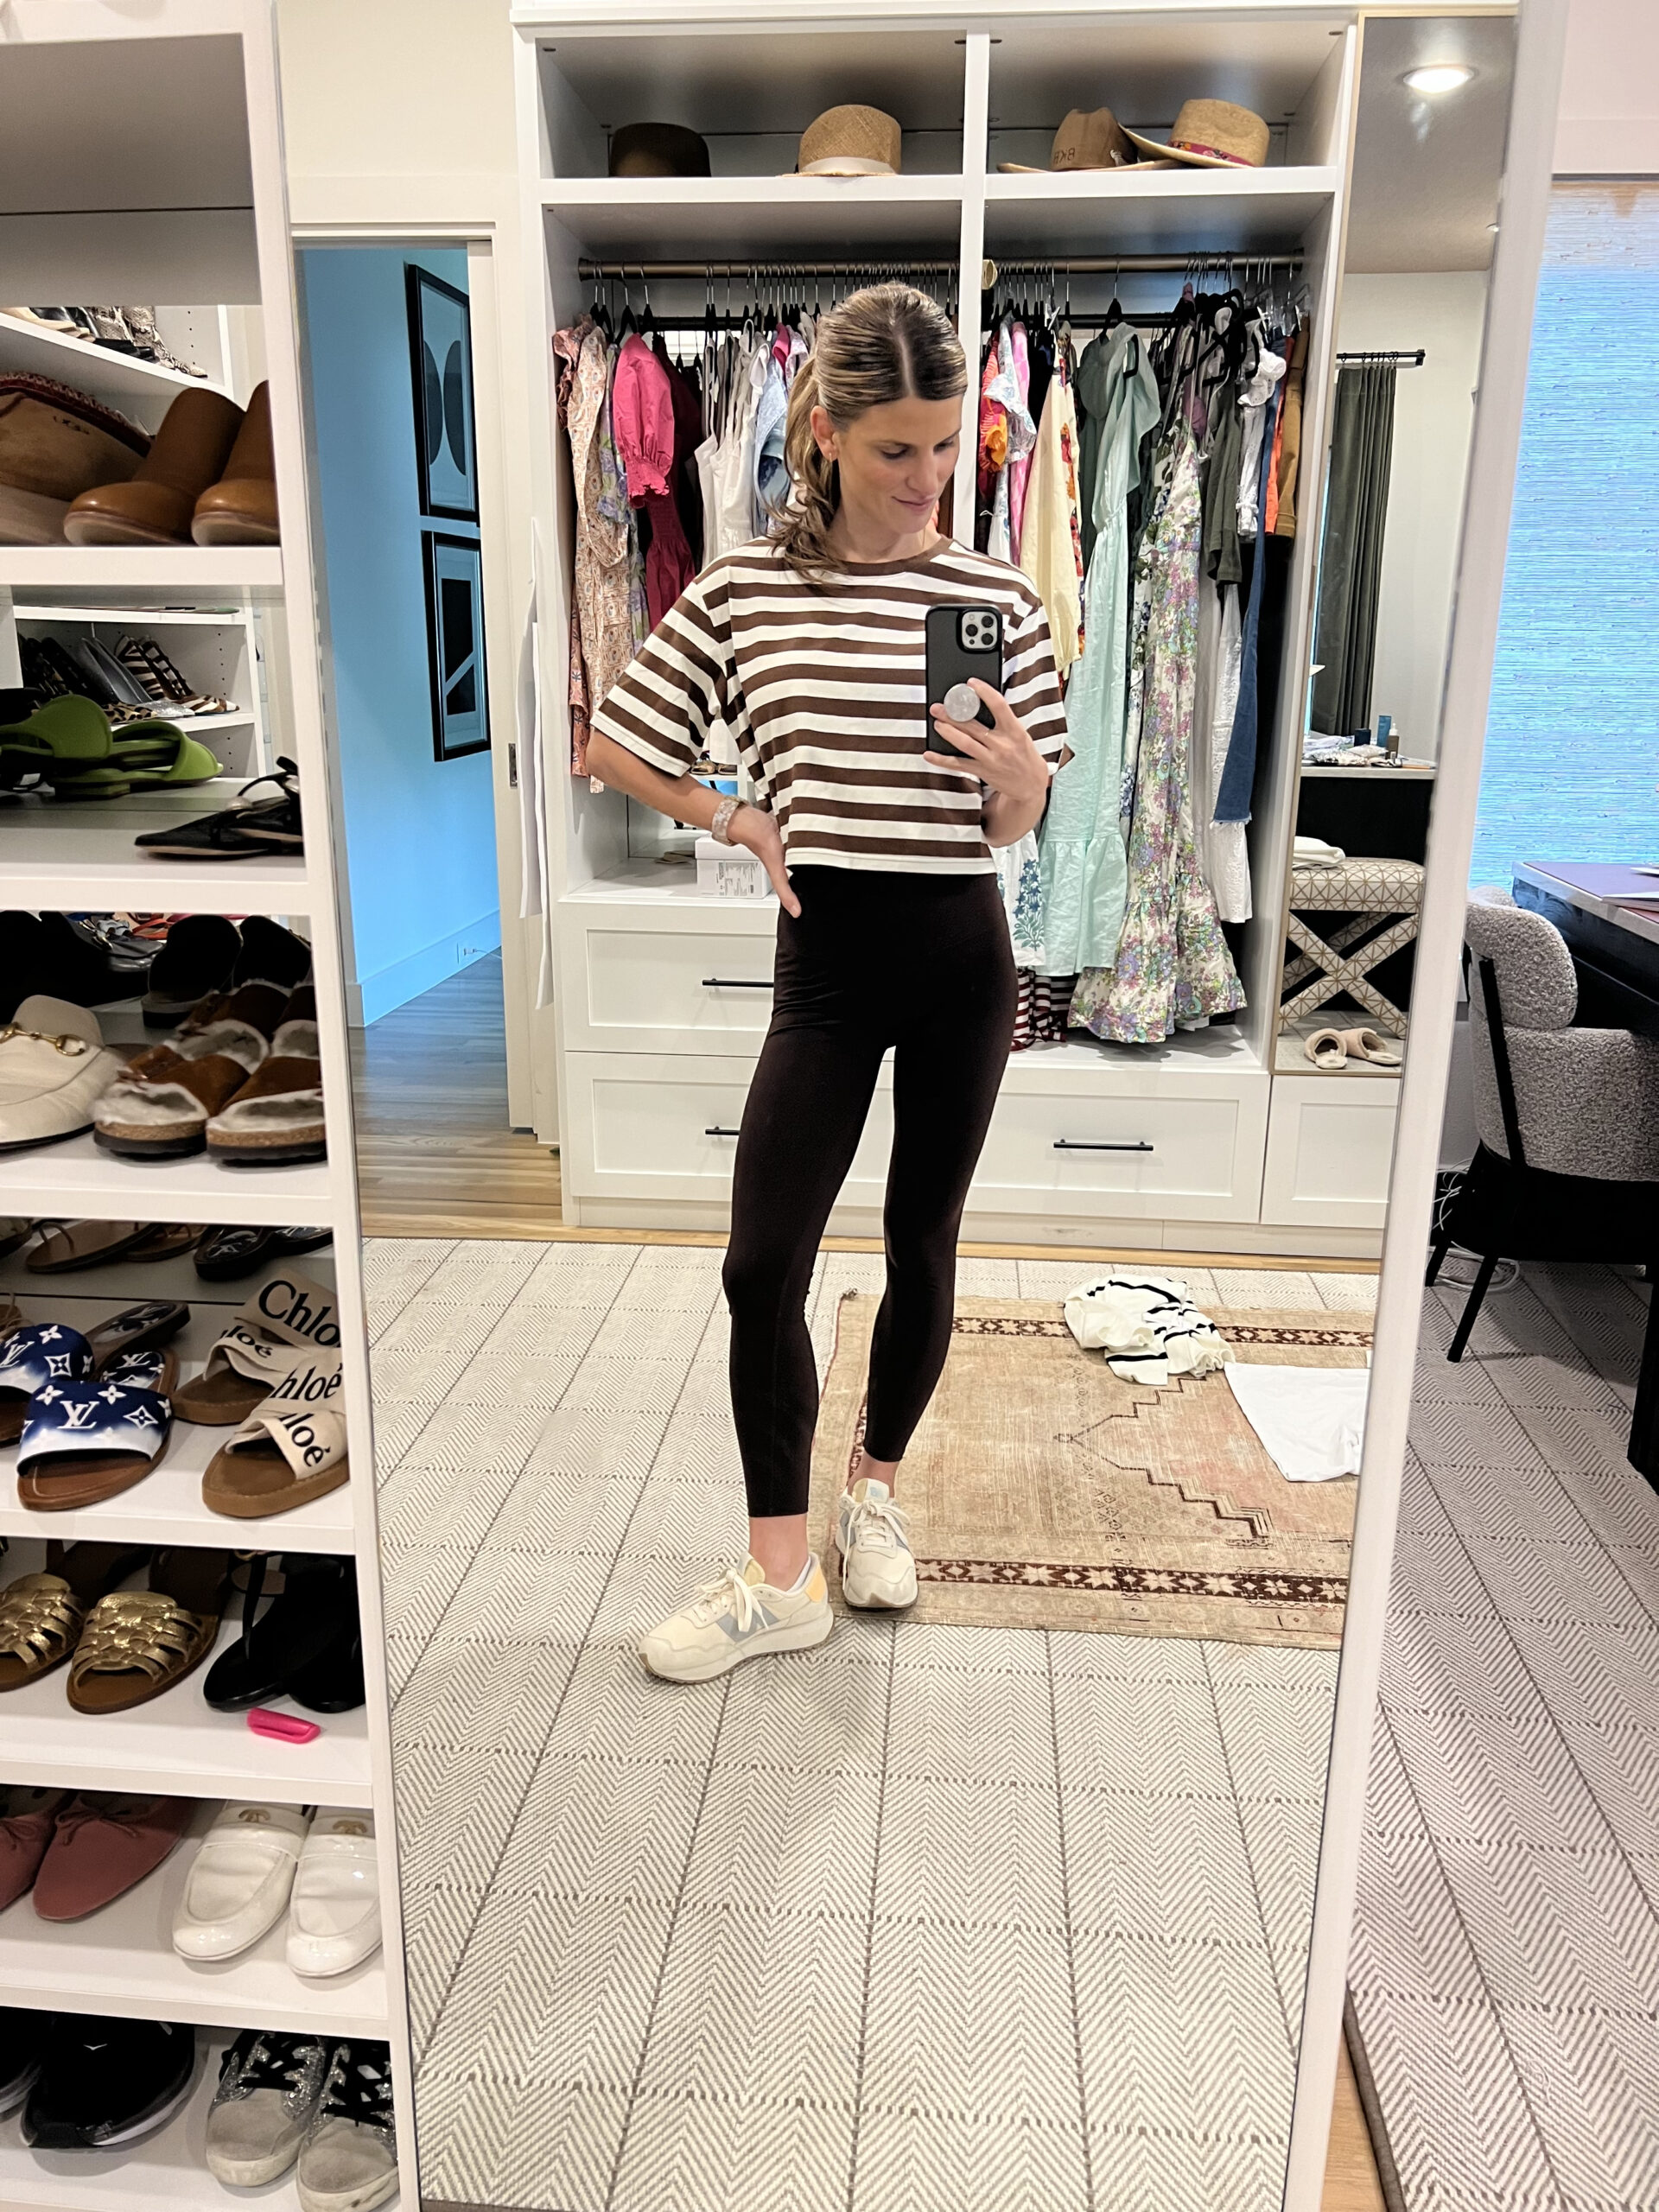
I’ve always had fun playing around with different hairstyles. Those of you who’ve been here for a minute have seen the many versions of hairstyles I’ve had over the years. I’ve kept it longer for a while now because it’s just easier to keep up with and requires fewer trips to the salon, but I do like playing around with different ways to style it.
When I was in Sea Island, Georgia, a couple of weeks ago with my family, I needed some quick hairstyles that wouldn’t need much time — aka didn’t require me to dry my hair. My sister Lele showed me this slick back ponytail she wears a lot that took less than 5 minutes but still felt put together.
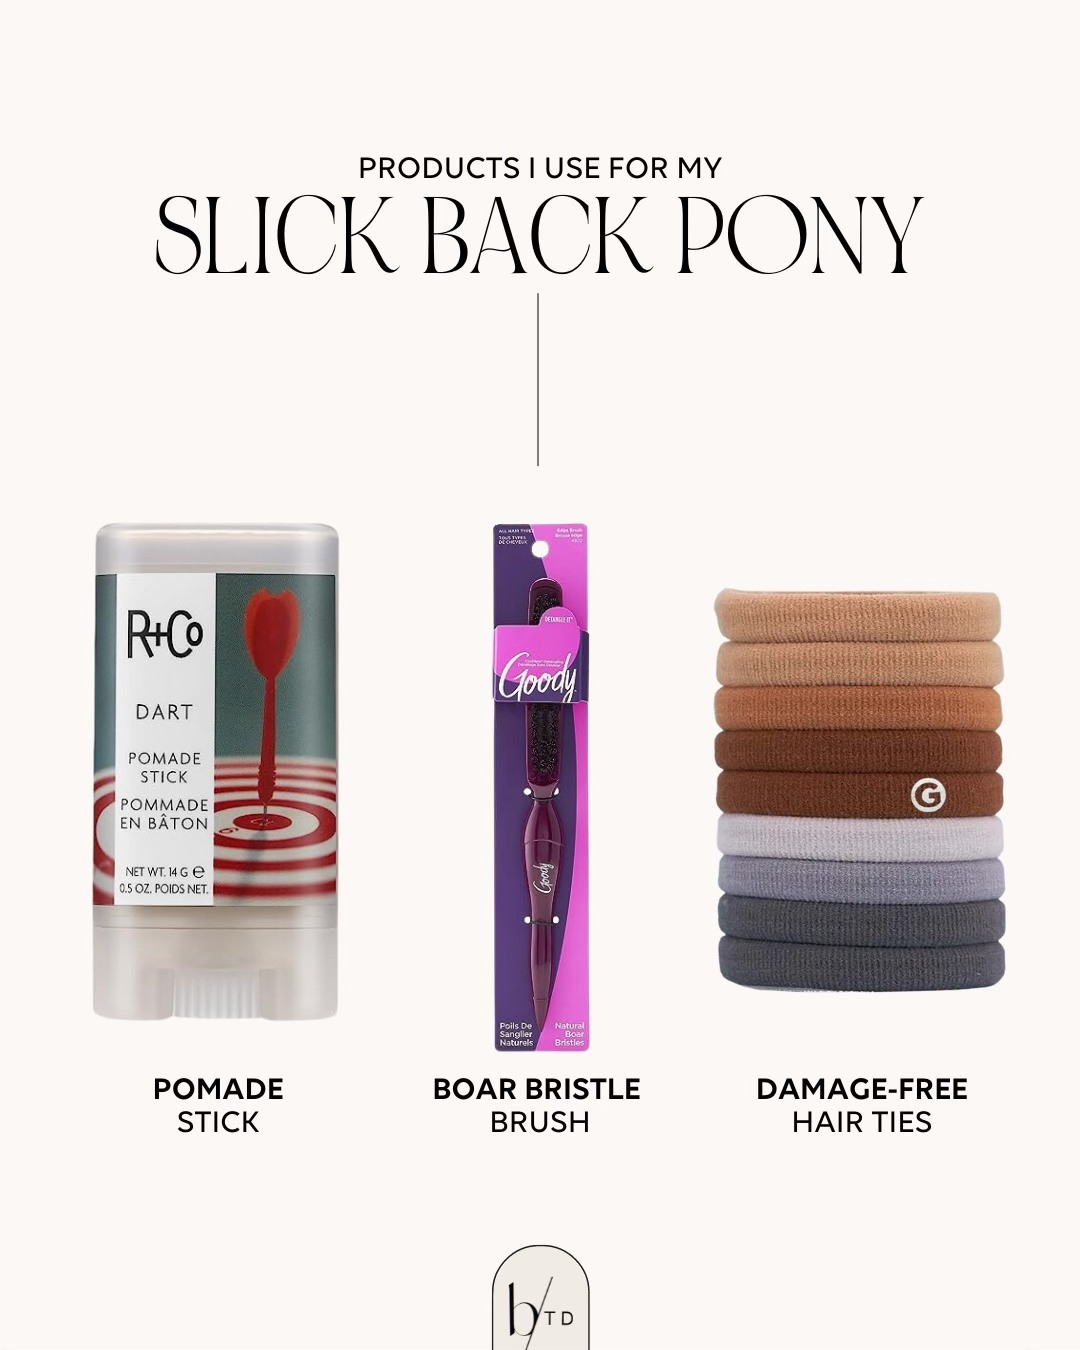
Since our trip, I’ve done this slick-back pony at least five times. It’s truly so easy, especially if you have the right products. Scroll down to see the exact products I use!
You can do this hairstyle on wet or dry hair. I personally prefer to have my hair dry but if you wanted to keep it wet, I’d just recommend twisting the ponytail into a bun or something.
Slick Back Ponytail Tutorial
1. Part your hair where you normally would. I tend to go back and forth between a middle part and a side part. Typically, for this hairstyle, I’ll part it somewhere in between. Just go with what feels natural.
2. Using the boar bristle brush (this is important!), brush out all of the bumps and tangles so you’ve got a smooth surface. You’ll want to brush your hair back into a ponytail toward the back of your head (I keep mine somewhere in the middle but you could also do a low ponytail).
3. Take all of the hair you’ve gathered at the back of your head and put it into a ponytail using these damage-free hair ties. Just trust me on this, you’ll want something that isn’t going to leave a crease… especially if you plan to take your hair down again at any point. I swear by these!
4. This is the real difference maker: Use this pomade stick to slick back any stray hairs *hello postpartum hair growth* that are sticking up. I’ll usually go back and forth, using the pomade to slick the hairs back and then brushing them down and repeating a few times so it’s truly as smooth and slicked back as possible.
That’s it! It couldn’t be simpler. If you’re more of a visual learner, check out the Reel I posted here. You can see exactly how I do it!
When I say it takes 5 minutes, that’s probably an exaggeration. You could do it in 2 once you get the hang of it. Then you can play around with putting the ponytail in a bun, braid, etc., for a little extra oomph. Be sure to tag me on IG if you try this easy hairstyle!

Product Details: R+CO Pomade Stick // Boar Bristle Brush // Damage Free Hair Ties
