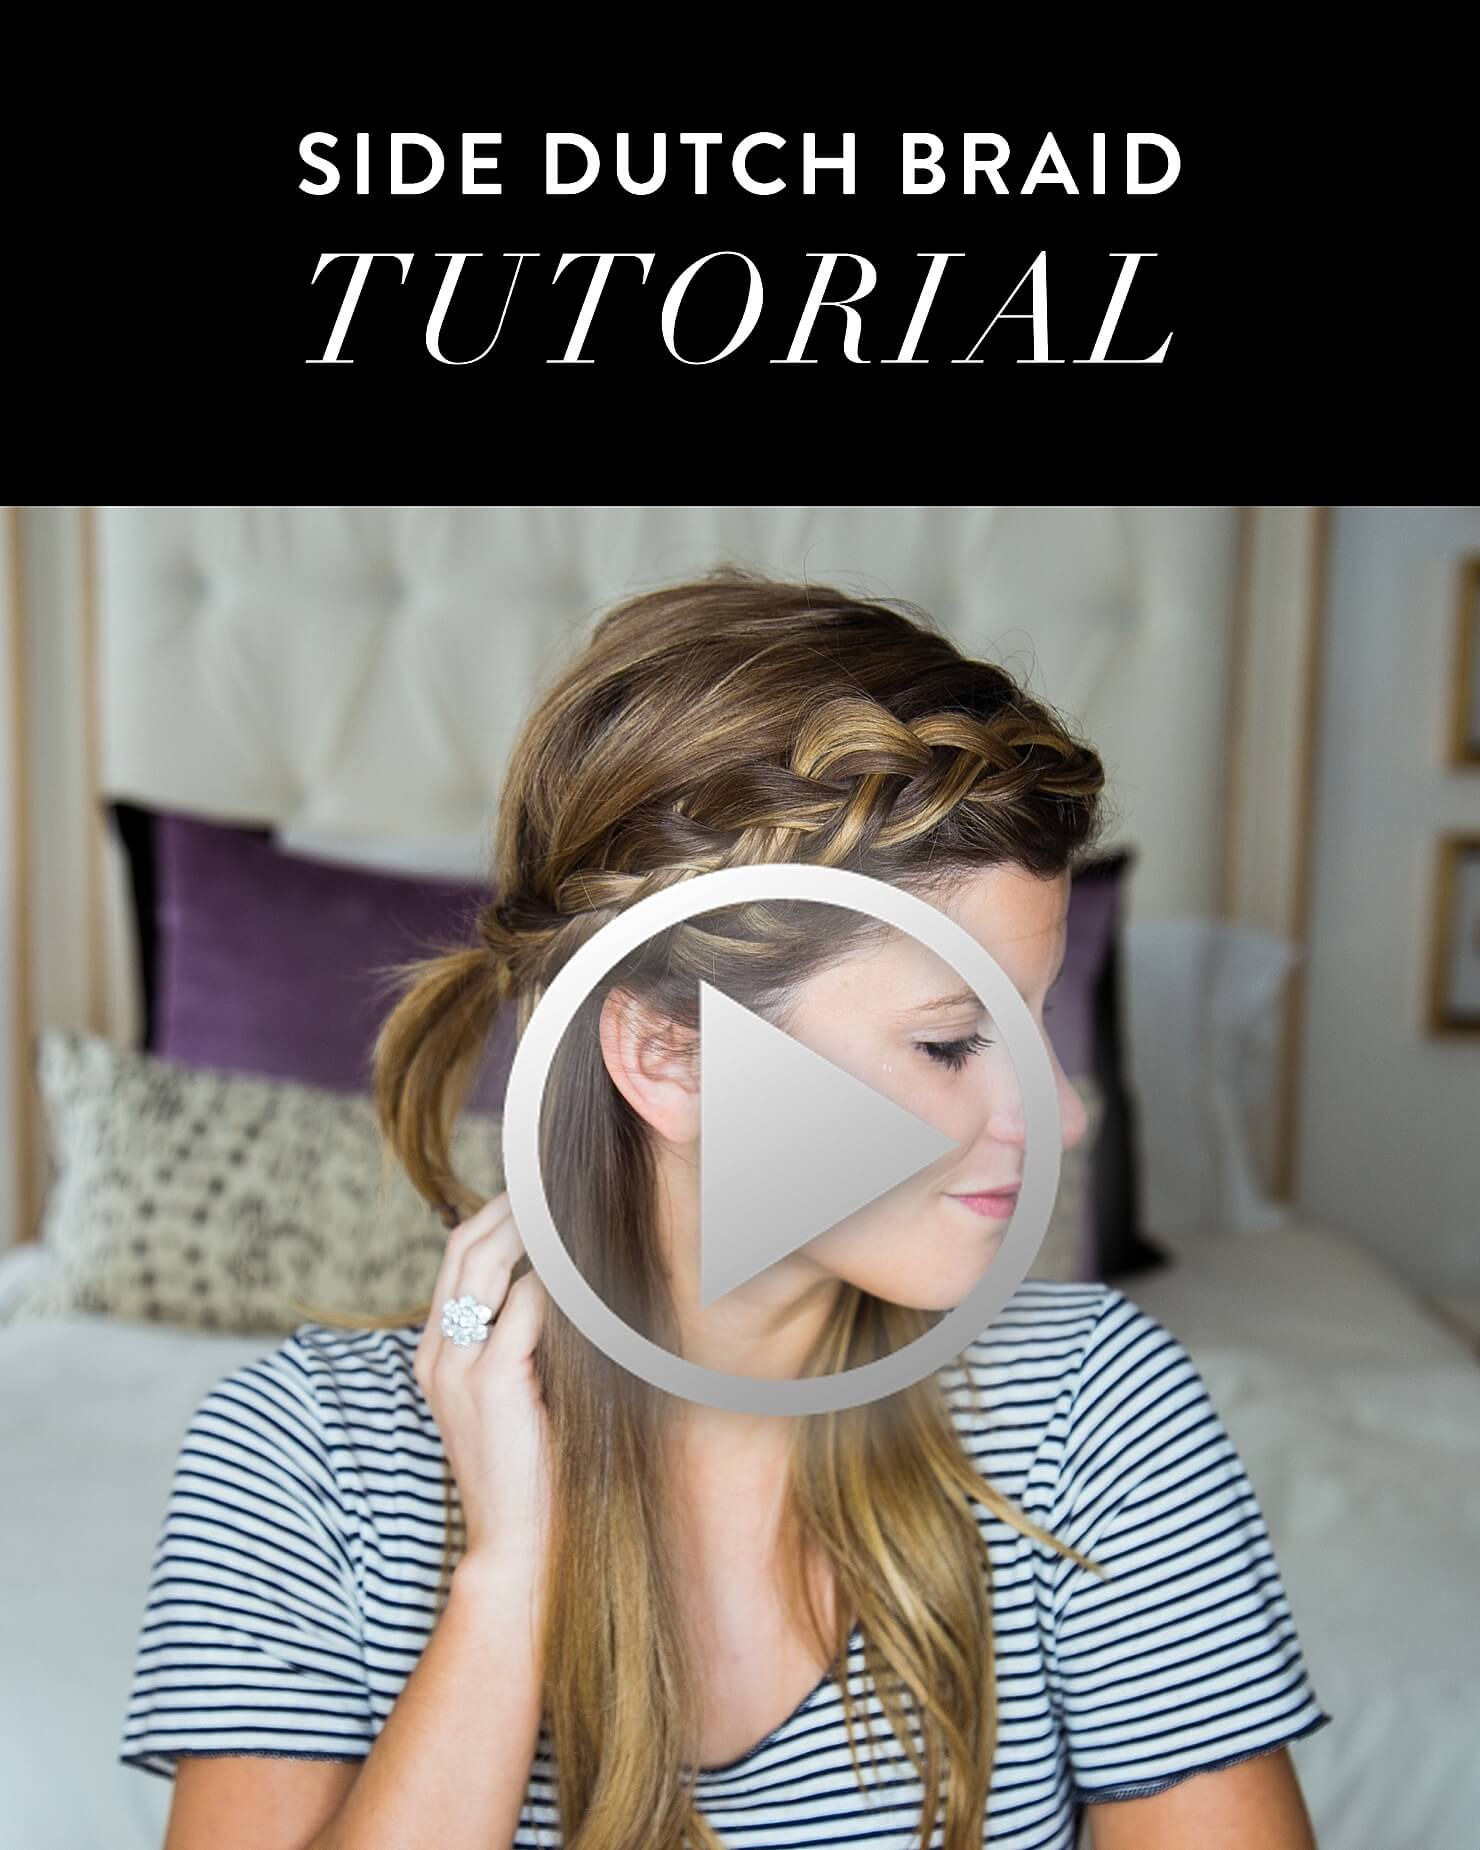
I’ve been wanting to film this video for y’all for ages now since you guys have been asking for a tutorial on how to do a side braid for months! And as I was filming this, I realized how stinkin’ hard it is to explain!
I tried my best to break it down for you guys, but please feel free to ask questions as you try and follow the steps for yourself. I’m not 100% happy with the video, but I figured it still might be helpful for some of you despite my lack of video-editing skills (working on this!). I’m also happy to film another video if you need more help or direction – maybe the second time would be a charm?
How To Do a Side Braid
Figuring out how to do a side braid or even how to get started is no easy feat – it takes a good bit of practice and getting used to, especially if you’re new to the dutch braid world. As you watch the video and try to apply the technique on your own hair, just keep in mind that it takes practice – you might not get it on your first try (or 5th or 10th try either lol!).
I think the key is making sure that you’ve got enough texture in your hair and that you get off to a good, solid start. I’ve listed a few products to help you get texture as well as tips for starting your braid well (e.g., Oribe Texturizing Spray & Big Sexy Hair Volumizing Powder).
What Kind of Side Braid are We Talking About?
There are a few popular ways to do a side braid, but I’ve noticed there are two styles that are the most popular: braiding your hair with a FRENCH braid and then the other being a DUTCH braid. Although similar in technique, these two braids can look VERY different when done right. Personally, I think a side dutch braid looks much cooler since the braid is much more distinct.
What is a Dutch Braid?
It looks way more complicated than it actually is! Basically, a dutch braid is simply just a reverse french braid. In other words, it’s a typical french (standard) braid but turned inside out, which is why it looks so cool and more distinct. Because instead of the strands of hair being tucked into your braid, they’re tucked UNDER the braid and the actual braid is what stands out the most!
How To Do a Side Braid (with an “inside out”/Dutch braid)
Today I’m going to show you how to do a side braid that uses an inside out braid – aka a dutch braid. And as I mentioned above, a dutch braid actually uses the same technique as a typical french braid except that instead of pulling strands OVER the middle piece, you’re going to be pulling strands of hair UNDER the middle piece. And just like a french braid, you’ll be adding additional strands of hair to your braid by adding them to the left and right pieces before weaving them under the middle.
https://youtube.com/watch?v=-wEHKxgjZpM
Here are a few of the “big” steps in list form, but it might make more sense if you watch the video since words can only go so far when trying to explain a hair how-to!
- Separate hair into 3 strands
- Start by doing one normal (dutch) braid without pulling any hair into it to get the braid going
- add more hair to the braid by picking up additional strands of hair each time BEFORE pulling (crossing) the next piece under the middle
- Continue to pull more strands of hair into the braid (as you weave the left and right strands outer strands into the middle), pulling the braid firm and tight as you go
- once you get to your ear-ish, just finish off the braid without adding more hair into it
- pull the braid back into a half-up-half-down hair do and fasten with a pony tail holder
Things to keep in mind:
- your hair will braid better if it has a little product in it or if it’s a day old (a little dirty) with some dry shampoo in it to give it some grit
- the hardest part is figuring out how to situate or coordinate your fingers as you work with the hair to braid the strands and pull more hair into the braid. Everyone does this differently, but I tried REALLY hard to break the way that I personally do it down for y’all – although I feel like I made it even more confusing (ha!)
- getting started is the hardest part so be patient as you try and figure it out! I usually start with a few
Products Used:
Wand: T3 ‘Whirl Trio’ Interchangeable Wand // Round Brush: DryBar Small Round Ceramic Brush // Hairspray: DryBar ‘Money Maker’ Flexible Hairspray // Texturizing Spray: Oribe Texturizing Spray // Volume Powder: Big Sexy Hair Volumizing Powder // Dry Shampoo: Bumble And Bumble Prêt-à-Powder Dry Shampoo // Clips: Small Rectangular Clips // Paddle Brush: DryBar Detangler Brush // Teasing Brush: Sally Hershberger Teasing Brush // Bands: No Slip Small Clear Bands


