I’ve shown y’all a few blowdrying tricks on Instagram stories, but I wanted a place on the blog where we could talk ALL THINGS round-brushing techniques. And just to have everything all in one place!
Today we’ll be talking about how to round brush your hair dry – specifically focusing on techniques and tips for doing your very own at home blowout! Before we start, you’re going to need a few things in order to do this well.
Make sure you have the following tools:
- Round brush – I recommend getting a big one and a small one too but if you have to choose, then get a big one
- Blow Dryer with nozzle – this makes a huge difference when blow-drying your hair and will be CRUCIAL in getting the results you need
- Product – you’re going to want to get some product to put in your hair while it’s wet. Otherwise, your hair doesn’t have anything to work with and it will be difficult to get it to behave the way you want it to
- Clips or ponytail – you’ll want to use this to section out your hair. It’ll make it easier
How to Blow Dry Hair for A Voluminous At-Home Blowout
Be sure to watch the video – as it will help make sense of the steps below! Please let me know if you have any questions! I’d be more than happy to answer!
Step No. 1: Wash your hair with shampoo & conditioner
I’ll do another post on my favorite shampoos & conditioners and leave-in treatments. In today’s tutorial, I really just want to focus on the skills and techniques I use while blow-drying my hair, rather than getting into all the details on the product. The truth is, I have A LOT of favorite products and am always switching them up too!
Step No. 2: Brush (wet) hair
Brush your hair with a regular brush or wide tooth comb (which is actually better for your hair). This will prep your hair so that you’re able to apply product next.
Step No. 3: Apply product
I’m sure you’ve heard before, but applying product really does make a huge difference when it comes to styling hair. I’ve found that applying products while my hair wet has made night and day difference to how responsive my hair is when round brushing. Again, I don’t want to get into the specific products I use in this blog post (I’ll save that for another post!), but I think it’s important to apply some form of the following types of hair products:
- heat-protectant
- volumizing mousse throughout roots & length of hair
- root lifter or spray tonic
After applying your product, let your hair air dry a bit. It’s easier to round brush your hair when it’s less wet and it will definitely speed up the process too. if you’re in a hurry, try towel-drying your hair to absorb most of the moisture.
Step No. 4: Section & Blow dry hair
Now that you’ve applied your product and your hair is damp, it’s time to start working some magic and get to the actual blow-drying part. There are a few skills that will take some practice, but I promise that no matter WHAT kind of hair you have, you’ll be able to make it work. And you WILL get better with time and practice! There are two specific skills that I use interchangeably throughout round-brushing my hair dry that I want to lay out and explain to you:
- The Roly Poly – It will probably make more sense when you watch the video, but basically this technique is where you roll the brush through your fingers as your run your hair under the blowdryer. Essentially, you are rolling the round brush back and forth through your hair from top to bottom applying heat. It will help your hair smooth and hold the shape of the round brush.
- The Middle Fing Grab & Re-Grab – I hold the blowdryer with my dominant hand. When I need to “re-grab” a strand of hair to run it under the blow dryer again, I’ll use my middle finger (from the hand holding the blowdryer) to pick up the hair and then RE-wrap it around the round brush. Working through each individual strand to get the desired result. This is great for anyone who has cowlicks like I do!
You’ll be using a combination of these two skills to round brush your hair. Start with the first section and repeat until you get to top of your head. You’ll want to apply special attention to the sections of hair surrounding your hairline and part.
Step No. 5: Style Dry Hair
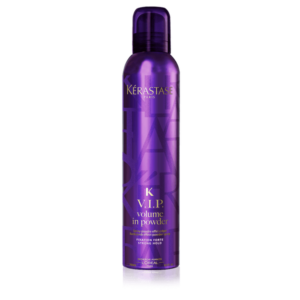
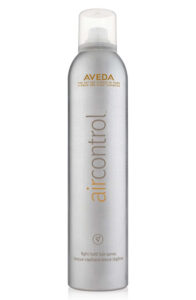
Once I’m done round-brushing my hair and it’s all dry, I usually apply some sort of texturizing product or hairspray to give it some ‘grit’.
Here are few of my favorites:
Post not found with old ID: 41188

I hope this helps y’all! Please let me know if you have any questions!

