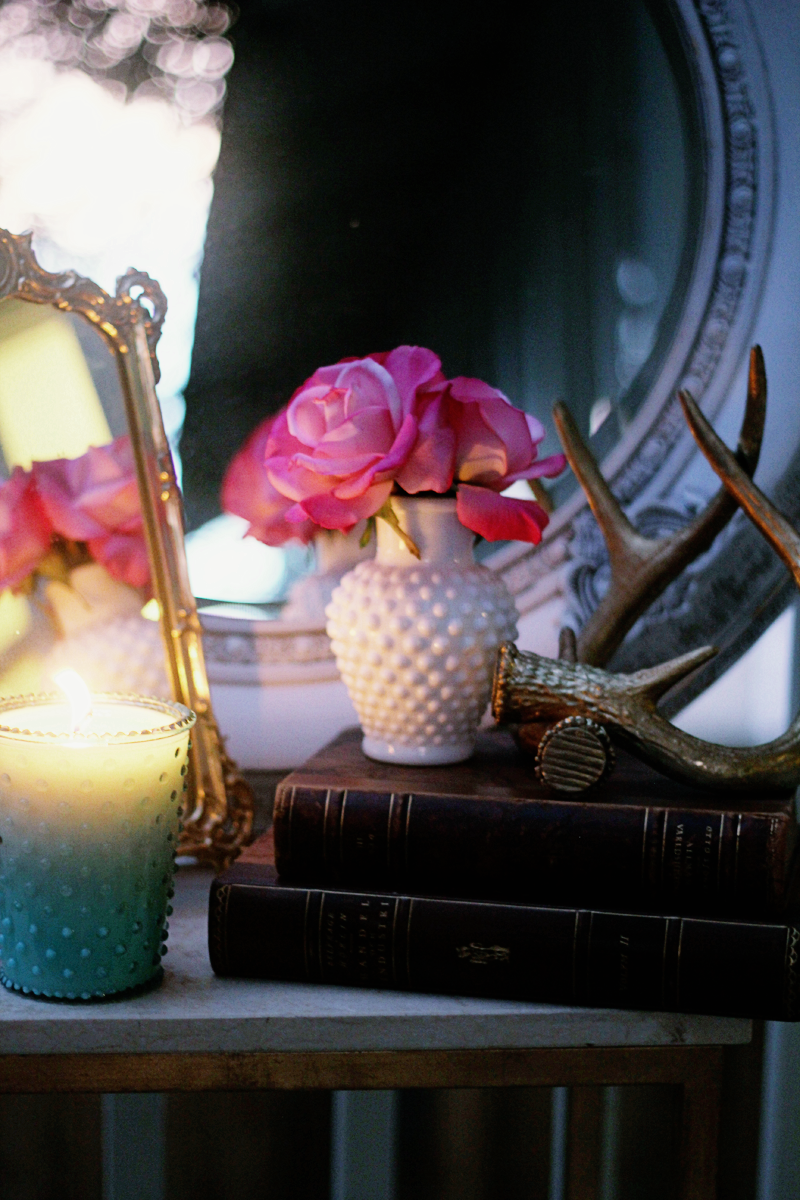
As the sun was setting yesterday evening, I couldn’t help but be distracted by the beautiful array of colors reflecting on and flooding through the windows. Within minutes of noticing the light, I was running around all frantic, gathering my camera (and lenses, as well as scrounging around for my missing memory card). I also grabbed a few surrounding still-life objects to shoot, which just so happened to all be some of my recent, vintage finds. Score! —-> A creative way for me to practice with my camera AND show you guys some of the fun things I’ve picked up for the home.
By the time I was outside and ready to go, it was around 7:30 here and the light was just getting dull (perfect for photos!). I took this picture with my Tamron 18-200mm lens. This lens is great for taking just normal pictures and can pretty much do everything you need. The zoom is amazing too! Maybe I’m just uneducated (99% sure I am), but I don’t really like this one. The photos I take with it are just….mehhh. Anybody have any insight I’m missing here? Fill me in please!

Then I took out my favorite lens, my 1.8 50mm; most of my friends know it as….”The PRIME lens.” (friends/family, you know this one! the one that you HAVE to “zoom with your feet!”?? haha). I have way more fun playing around with this one, but be aware that it definitely takes more “artsy” photos. As the sun proceeded to set, I played around with all different variations of light, focal points, and the like. And as you’ll see, I was able to achieve several different “looks” by adjusting the settings of my camera. But also because the lighting was changing basically every 5 seconds as the sun was setting. Now, I have to be honest with you and disclose the fact that I don’t really know what I’m doing, even though I like to think that I do. haha. But it’s still fun to experiment. I have the always-handy google search engine results to thank for my current knowledge….

In the pictures below, I focused on catching “warmer” light, as opposed to the “cooler” light above. In layman terms, the photo below has a little bit of an orange/red tint, as opposed to having a blue-ish tint. Notice how the pink in the roses is a little more pronounced too? I’m pretty sure that’s because you can achieve a higher color-contrasting photo with warmer light.

and then in the picture below, I tried to capitalize on the light reflecting in the round mirror and on the gold frame of the antique mirror. It was neat how the photo “brightened” up here.

Below, I was trying to capture the rainbow colors in the sunset. I couldn’t quite figure out how to get the full effect, but I was able to get a little glimpse of it, as you can see below. Right? ahah. Also, in this photo, I added a “fade” effect to the bottom right corner to add an antique-looking effect–like instagram! I like how the sunset blurred in the mirror, but I do wish I could have captured the intensity of the colors better.
 It’s also important to be aware of which “focal point” of your “subject” (person/objects) you want to focus on. Because with this lens, especially in such low light, the area you focus on will be the most clear. And the surrounding areas will be blurred. Below, I tried to capture the grooves and details of the gold antlers. And since the vase and (part of) the flowers were sitting at the same distance, they are in focus as well.

But here, I tried to define the reflection of the roses in the gold antique mirror. And as you can see, the antlers and vase are less detailed/clear. Notice that the reflection above is also blurry as compared to the one below. Changing your focal point will also alter your lighting, as you can see when comparing the two photos.

and I’m not sure what’s going on in the one below, but I like it!

